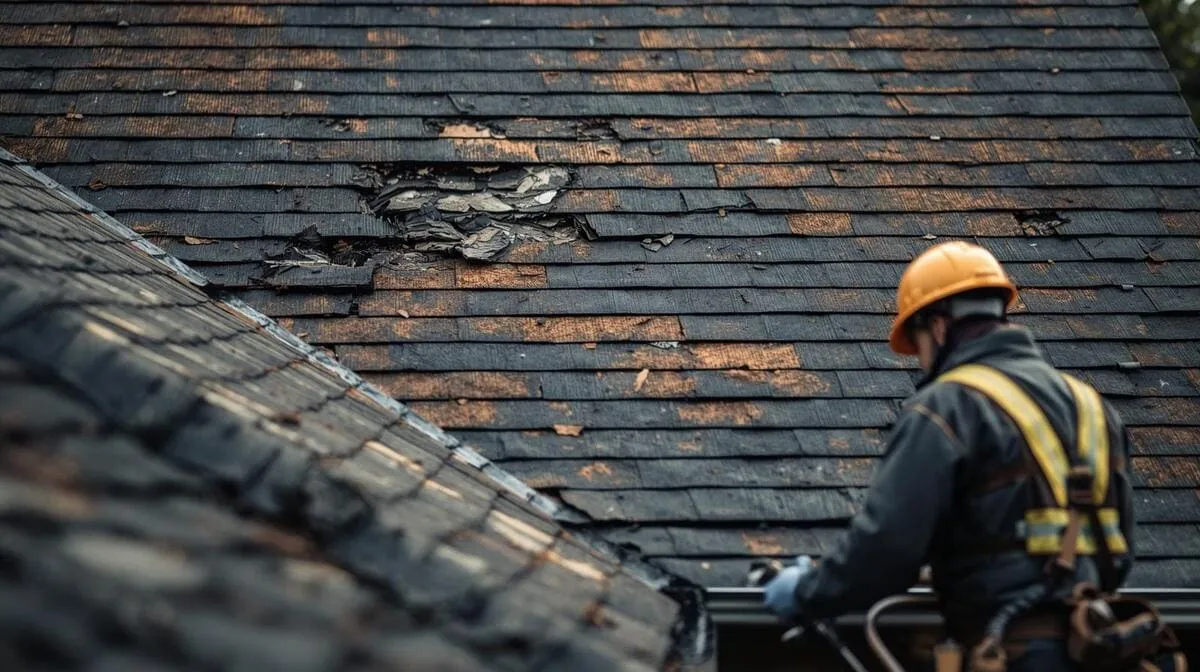

Grand Rapids Storm Damage Checklist for Homeowners
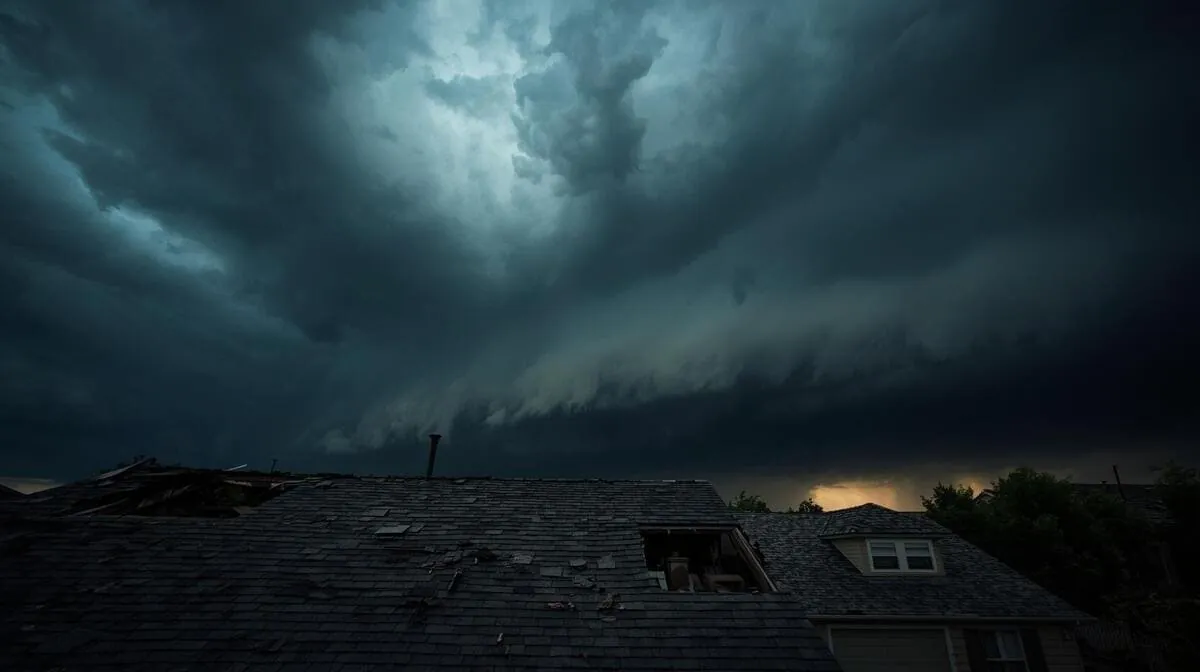
Save this checklist before the next severe storm.
West Michigan storms don't give homeowners much warning. A summer afternoon turns into 60-to-80 mph wind gusts and quarter-size hail before anyone has time to figure out what to do. The homeowners who handle these events well aren't necessarily luckier or smarter than the ones who don't. They just had a plan, or a checklist, that helped them act in the right order while everyone else was scrambling.
This is that checklist. It covers what to do before the storm, what to do during, and the specific steps for the first hour, first 24 hours, and first week after a severe weather event in Grand Rapids. Save it, print it, or take a screenshot. The next time the radar lights up over Kent County, you'll already know the playbook.
Why a written checklist matters during a storm
Storms create decision fatigue. Adrenaline runs high, information is incomplete, and the order in which you do things determines whether a manageable situation stays manageable or spirals into a much larger problem. A storm damage checklist for Grand Rapids homeowners isn't about being paranoid; it's about not having to invent the next step under stress.
The cost of doing things in the wrong order can be high: filing an insurance claim before a proper inspection, climbing the roof in unsafe conditions, throwing away the wrong debris, missing a documentation window, or signing a contract with a stranger in your driveway. None of these are recoverable mistakes once they're made.
The right checklist takes those decisions off your plate.
Before the storm: preparation
Some of the most useful work happens before the weather even arrives. These items can be handled on a calm weekend afternoon, well before any storm is forecast.
Roof readiness
Schedule a baseline roof inspection if it's been more than two years since your last one. A documented record of your roof's condition before any storm makes any subsequent damage easier to establish as storm-related.
Clear gutters and downspouts of debris so water can drain properly during heavy rain.
Trim tree branches that overhang the roof, especially any that are dead, damaged, or within striking distance of the house. Most storm-related roof damage from trees is preventable.
Note your roof's age and material. If your roof is approaching the end of its expected service life, factor that into any pre-storm planning. An older roof is more vulnerable to wind and hail damage.
Documentation readiness
Locate your homeowner's insurance declarations page. Note your wind and hail deductible and any specific policy conditions about damage reporting timeframes.
Save your insurance agent's contact information somewhere accessible: phone, paper, email. After a storm is not when you want to be hunting for it.
Take baseline photos of your roof, gutters, siding, and exterior features when nothing is wrong. Time-stamped before photos make after photos much more powerful.
Keep a written list of any prior roof repairs, replacements, or warranty information. After a storm, knowing what was already there saves time.
Home readiness
Identify a safe interior shelter location, ideally a windowless interior room on the lowest floor.
Keep flashlights, a battery-powered radio, and basic emergency supplies in an accessible location.
Know where your electrical breaker panel is and which breakers control which areas of the house. After storm damage, you may need to cut power to specific zones quickly.
During the storm: safety
The rule is simple: stay inside, stay away from windows, and stay off the roof.
Do not attempt to inspect, photograph, or protect the roof while the storm is active. Whatever damage is being done is already happening; nothing you can do during the storm changes the outcome, and people get seriously hurt trying.
If your home loses power during the storm, do not light candles. Use flashlights instead. Don't open the refrigerator more than necessary so food stays cold longer.
If a tree falls on the house during the storm, move to a different part of the home if it's safe to do so. Do not attempt to assess the damage until conditions are safe.
First hour after the storm: safety first
Once the wind has stopped and any ongoing rain has eased, the first hour focuses on safety, not documentation. Documentation comes next.
Walk through the home
Check each room for ceiling stains, drips, sagging drywall, bulging spots, or visible water. A bulging ceiling with water trapped inside can collapse without warning — drain it deliberately with a screwdriver into a bucket rather than waiting.
Check for any electrical issues: flickering lights, wet outlets, anything burning. If you see any of these, leave the affected area and turn off the breaker for that zone.
Check for any smell of gas. If you suspect a gas leak, leave the home immediately and call your utility company from outside.
Walk the exterior: ground only
Walk around the home on the ground. Do not climb ladders, do not climb on the roof, and stay away from any downed power lines.
Look for visible damage — missing shingles, lifted shingles, damaged gutters, fallen branches, dimpled or dented metal items, damaged siding, broken windows, debris in the yard.
Check that the home is safe to be in. If the structure has been struck by a tree or other large object, treat the situation as potentially unsafe and call for professional assessment before moving around the home.
First 24 hours: document and stabilize
Once the home is confirmed safe, the next 24 hours are about documentation and stabilizing any active damage.
Photo documentation
Photograph everything visible from the ground: front, back, both sides of the home. Wide shots first, then close-ups of any visible damage.
Photograph dented gutters, downspouts, AC condenser, garage door, mailbox, vehicles, and any other metal items showing impact.
Photograph any shingles or roofing material on the ground. Don't throw them away; they're physical evidence and can help match replacement materials.
Photograph the yard, defoliated trees, and any debris.
Photograph inside the home: ceiling stains, drips, water on floors, wet drywall, damaged contents.
Photograph the attic if accessible: wet decking, damp insulation, daylight visible through the roof.
Save screenshots of weather alerts that came through your phone during the storm, with dates and times visible.
Stabilization
Move valuables out from under any active leaks. Use buckets or pans to catch drips.
If you have an active opening in the roof and rain is forecast, request emergency tarping from a local roofer. Do not climb the roof yourself.
If you have wet insulation in the attic, pull it back from any electrical wiring or fixtures if you can do so safely.
Run fans in any rooms with water damage to slow mold development.
Initial contacts
Call a local Grand Rapids roofer to schedule a documented storm damage inspection. Do not call insurance first. Schedule the inspection first.
If you have an active leak or significant damage, request an emergency response in addition to the inspection.
If you've already received unsolicited contact from a contractor knocking on doors in your neighborhood, do not sign anything. Take their card, file it, and move on with your local-roofer plan.
First week: inspection and claim decision
The first week is when the documentation gets reviewed, the inspection happens, and the claim decision gets made.
The inspection
The roofer arrives, walks the roof, checks flashing and gutters, assesses the attic underside, and produces a written report with photographs.
Review the report carefully. The findings should separate storm damage from pre-existing wear, with photos for each.
Ask any questions the report doesn't answer. A good roofer walks you through their findings in plain language.
The claim decision
Compare the estimated repair scope to your wind and hail deductible. If the cost is well above the deductible and the damage clearly ties to a storm event, filing is usually the right call. If the cost is at or near your deductible, paying out of pocket is often cleaner.
If you choose to file, send the inspection report and your own photos to your insurance company along with the claim. Save copies of every email, voicemail, and form related to the claim.
If you choose not to file, save the inspection report anyway. It's a baseline document for the next storm.
The adjuster's visit
If you filed a claim, the adjuster will schedule a visit. Ask your roofer to be present so they can walk the roof together.
The conversation between the roofer and adjuster is technical and based on shared evidence. The approved scope reflects the actual damage.
If the initial approved scope feels narrower than the inspection report, ask the roofer about a supplemental claim before signing off on anything.
The repair phase
Once a scope is agreed and the claim is approved, the repair phase begins.
Review the written contract from the roofer carefully. Materials, timeline, warranty, and payment terms should all be clearly specified before signing.
Keep all contract documents, claim documents, and inspection photos in one folder.
Confirm work is completed to the agreed scope. Walk the property with the contractor at completion if possible.
Save the final invoice, warranty document, and any post-repair photos. These become part of the next baseline before the next storm.
A quick reference summary
If you remember nothing else from this checklist:
Before the storm — clear gutters, trim branches, know your deductible, save baseline photos.
During the storm — stay inside, stay safe, don't go on the roof.
First hour after — check the home for safety, walk the exterior from the ground only.
First 24 hours — photograph everything, stabilize leaks with buckets and professional tarping, schedule a local roofer's inspection.
First week — get the documented inspection, decide on the claim based on the report, and have the roofer present for the adjuster's visit if you file.
Repair phase — written contract, clean documentation, completed work confirmed in writing.
The sequence is the secret. Most of the cost and stress of a storm damage event comes from doing the steps in the wrong order. The sequence above keeps things in the right order.
Schedule a free inspection
Above Roofing provides free, documented storm damage roof inspections across Grand Rapids and the surrounding West Michigan communities, including Wyoming, Kentwood, Grandville, Walker, Rockford, Ada, Cascade, Belmont, Comstock Park, and Sparta.
If a recent storm passed through your area, request a free inspection and use this checklist to work through everything else. If no storm has hit recently, save the checklist — and consider scheduling a baseline inspection before the next one does.
For more on the broader storm response and claim process, visit our Storm and Hail Damage Roof Repair page.
Frequently asked questions
Related articles

Best Roofer for Storm Damage Insurance Claims in Grand Rapids

What to Photograph Before Filing a Roof Insurance Claim
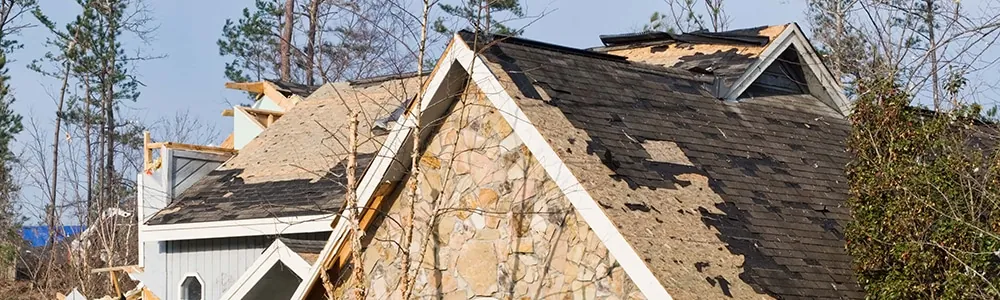
Wind Damage Roof Repair in Grand Rapids: Signs to Watch For